Disks are glued to dowel valve.
Finished shot of valve with felt and leather laminated
disk.
ST. JOSEPH CATHOLIC CHURCH,
Ponchatoula, LA.
Follow John and Rene through their
current repair of Wicks Opus 838.
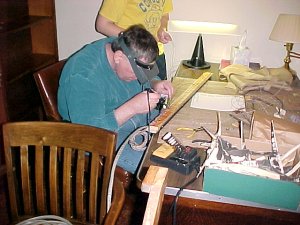
We begin with the restoration of the swell shade motor.
WEEK 1
(Note: Click on any image to see enlarged photo..)
|
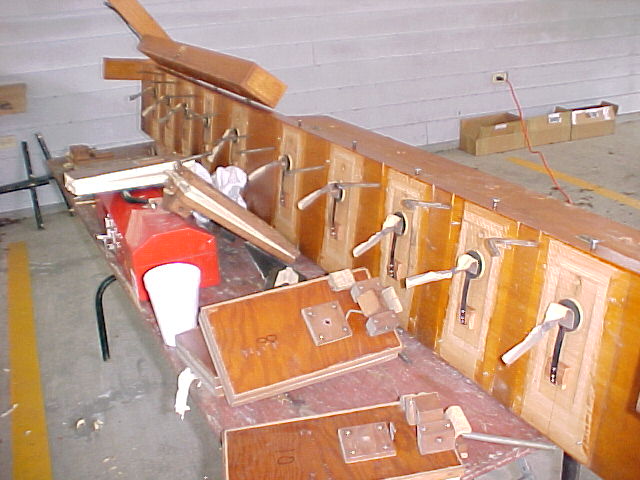
The work begins with disassembly of the Wicks main swell shade operator. Here, power pneumatics are being removed for releathering. All parts are marked with numbers which correspond to position and succession on the ten motor unit. |
| Valve assembly is prepared for replacement of the twill-cloth valve pulls which connect to the face of the power pneumatics. | |
|
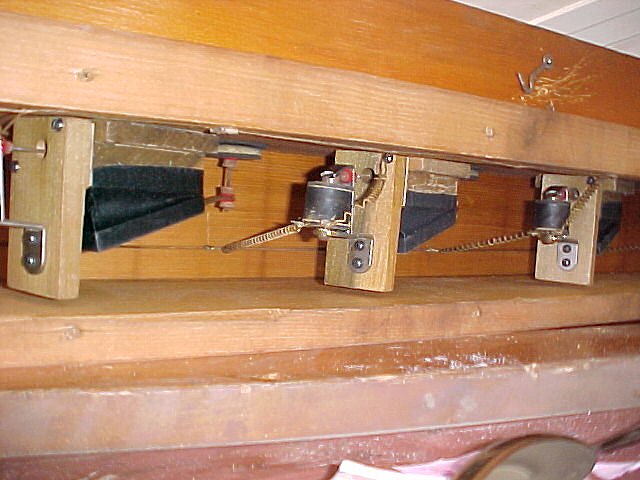
On the opposite side of the assembly, primary exhaust valves are visible under protective cover. |
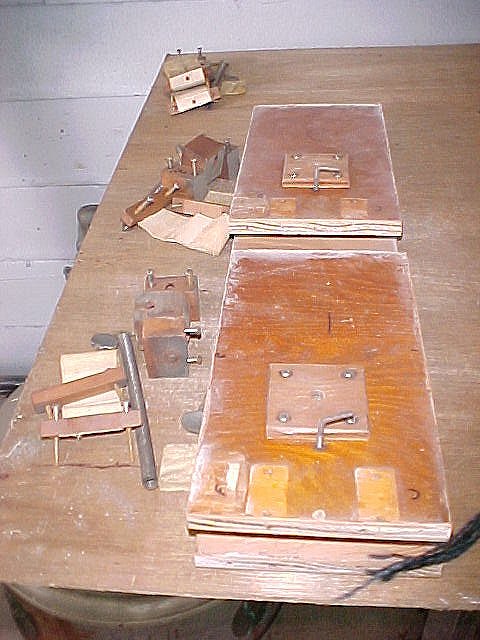
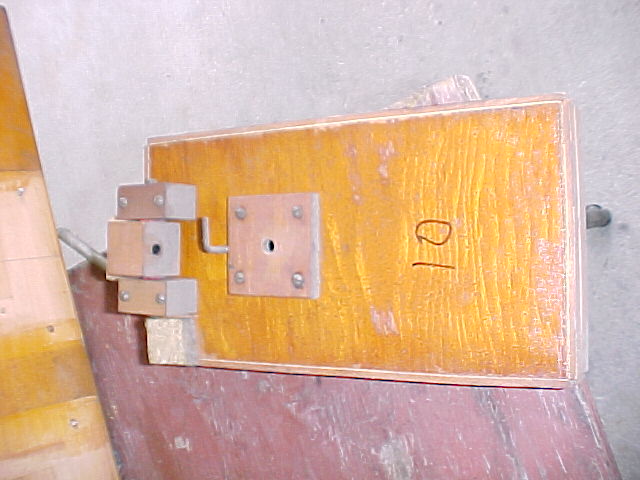
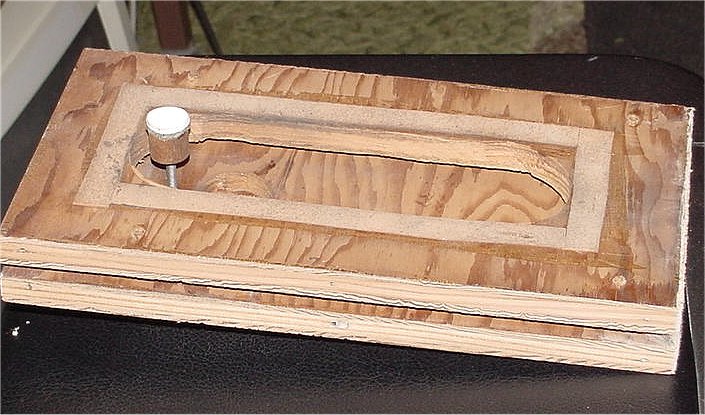
| After stripping of old leather, power pneumatics are lined up and grouped with corresponding valve and linkage components. The crank screw shown near to the top of the pneumatic, has a dowel and leather valve on the underside. Leather will be stripped from the dowel head and replaced before releathering. | |
|
Another view of the power pneumatic face showing the valve adjustment screw and linkage components. |
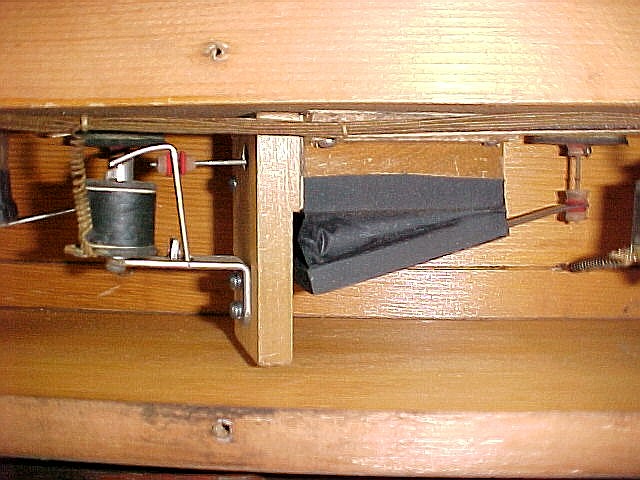
| Here we see the details of the primary valves and direct electric operating coils. This is unique to Wicks organs, both church and theatre models. | |
|
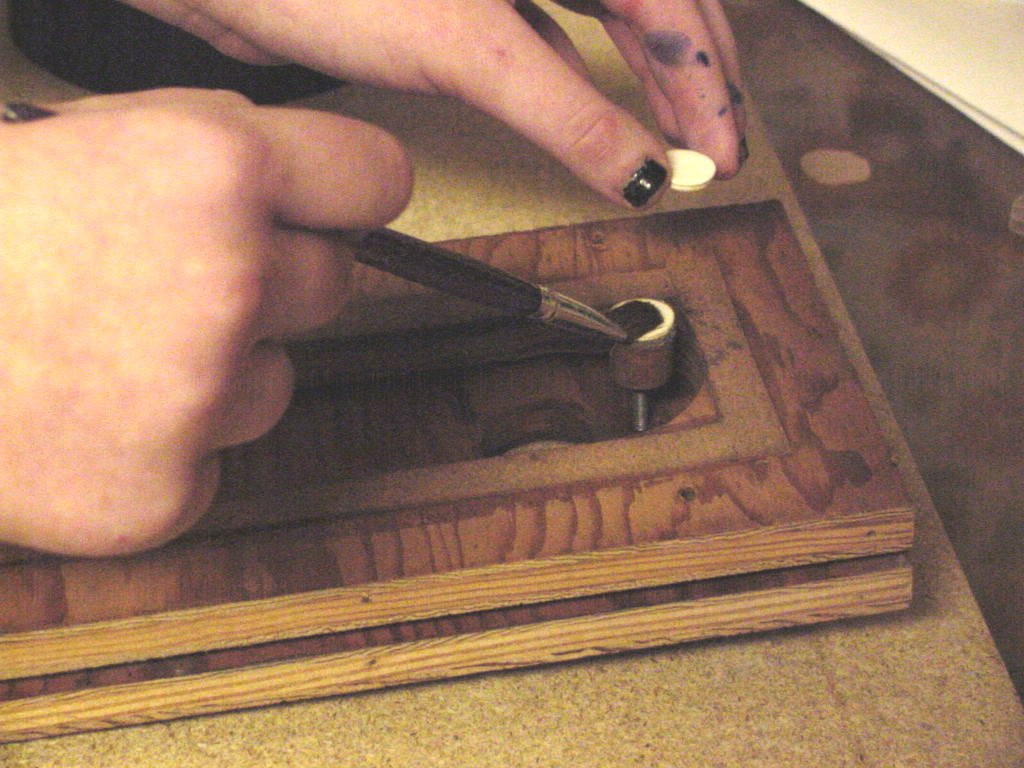
An extended view of the primary assemblies showing their placement in the airway of the operator. This action is designed to operate on static pressure of just above ten inches. |
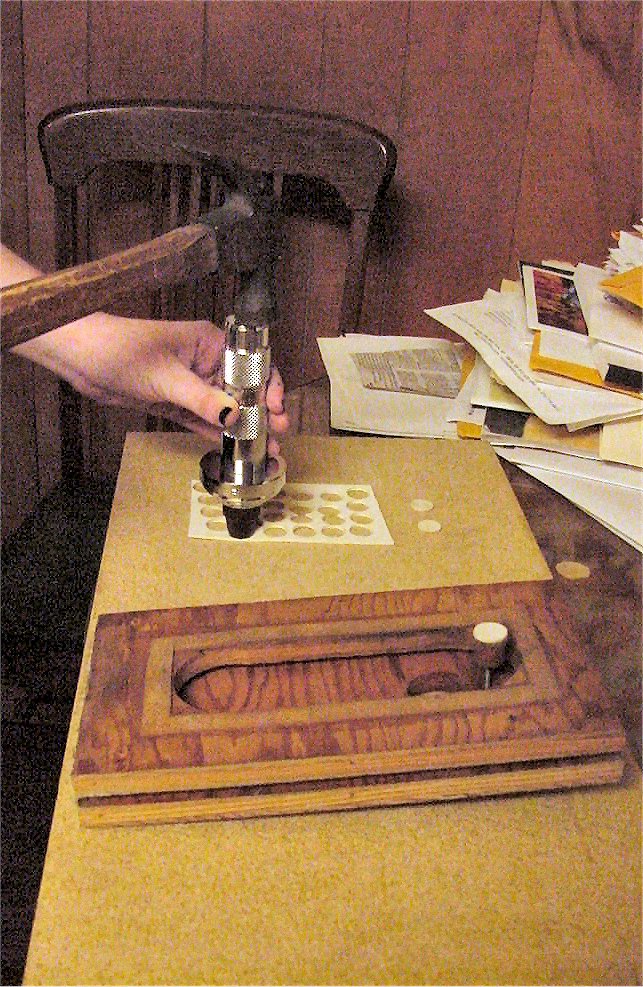
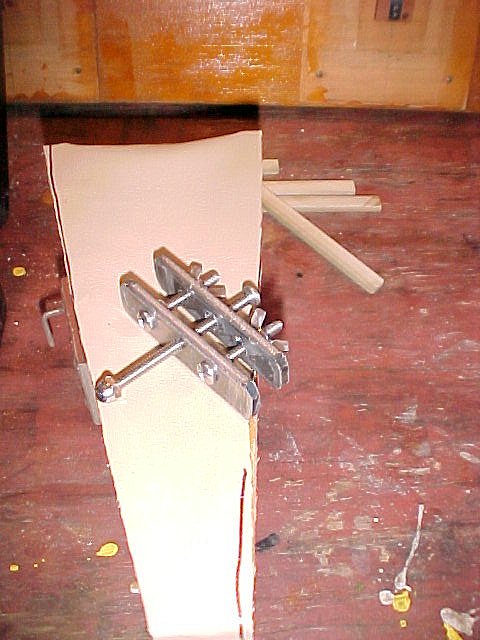
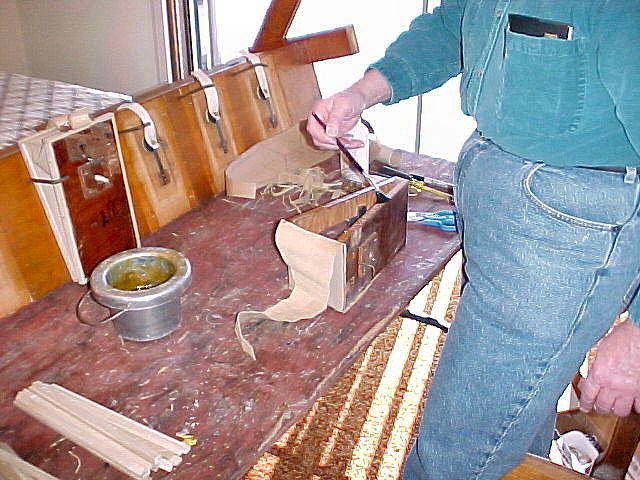
| Valve leather is punched with a 5/8 gasket punch. Disks are glued to dowel valve. |
|
|
|
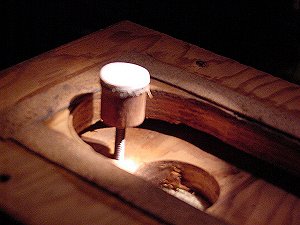
Finished shot of valve with felt and leather laminated
disk. |
|
|
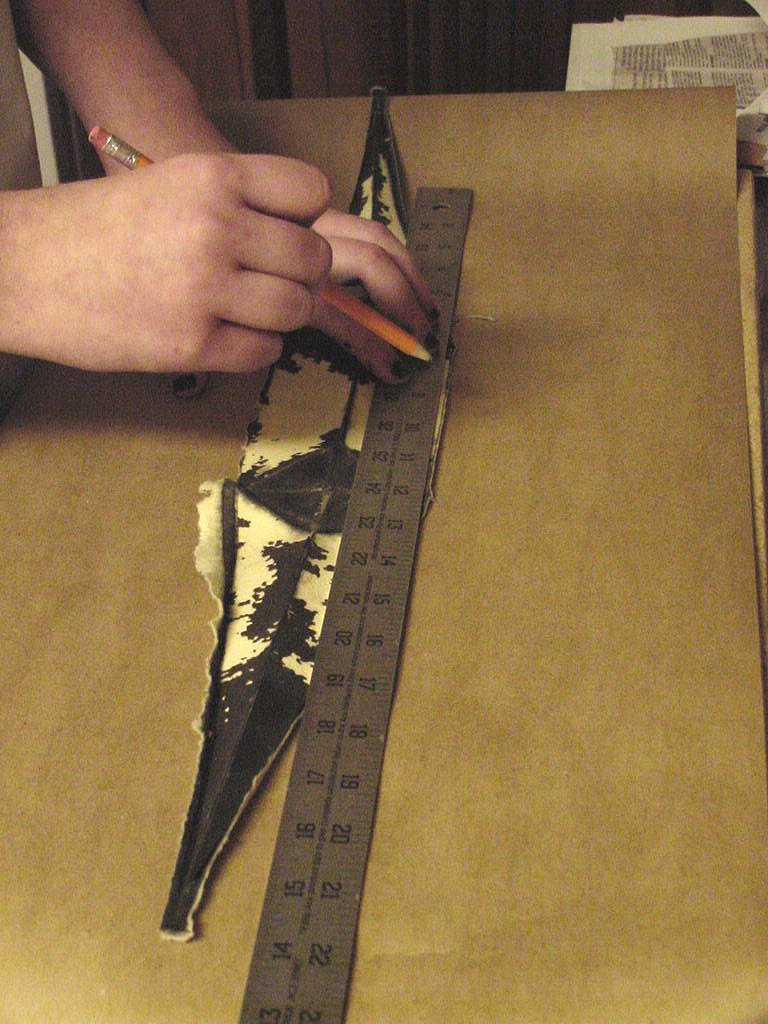
Old power pneumatic leather is peeled off of the assembly and laid flat on paper gasket material. Paper template is used to cut new leather. Fiber stiffners were glued to inside of original leather. |
| Power pneumatic frame ready for releathering. | |
WEEK 2
 |
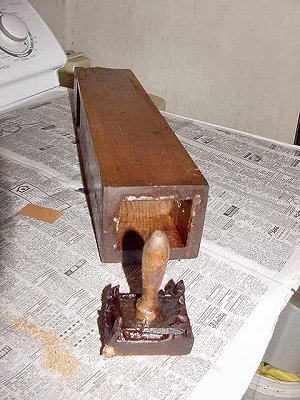
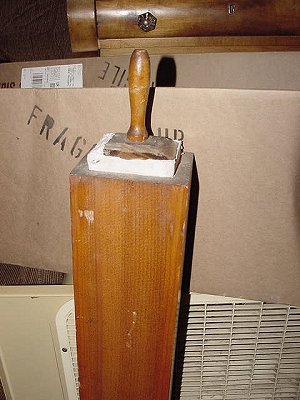
A special tool was fabricated to be able to control the width of the pneumatic while leathering was in progress. |
| The tool is used as shown. | 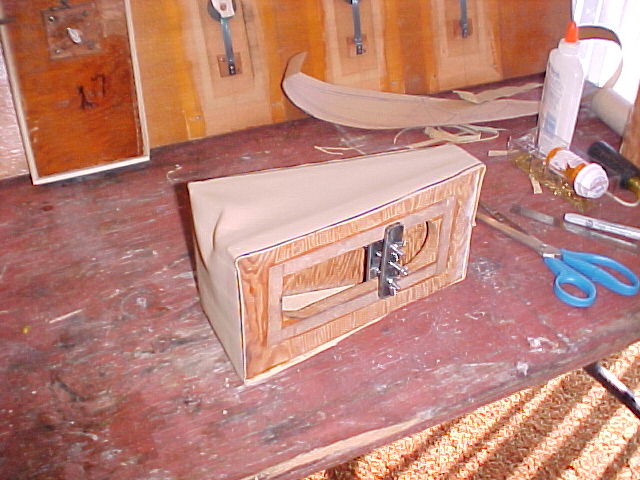 |
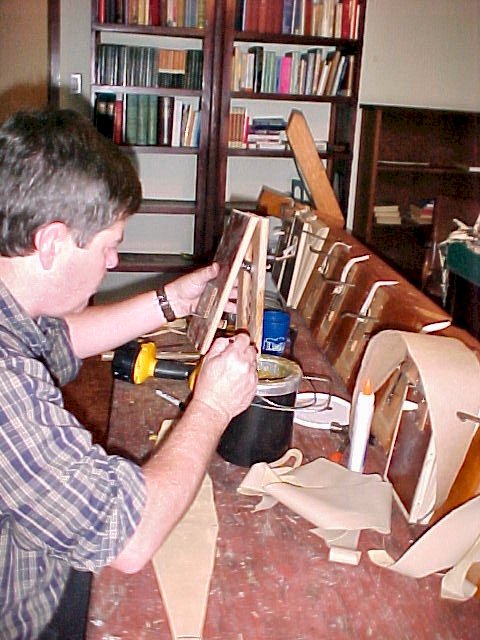 |
Here, Rene begins to apply hide glue to the surfaces of the pneumatic as he prepares to apply new leather. |
| Leather is wrapped around the four sides of the pneumatic after glue is applied to the wood edge of the folding form and also stippled on the edge of the leather. | 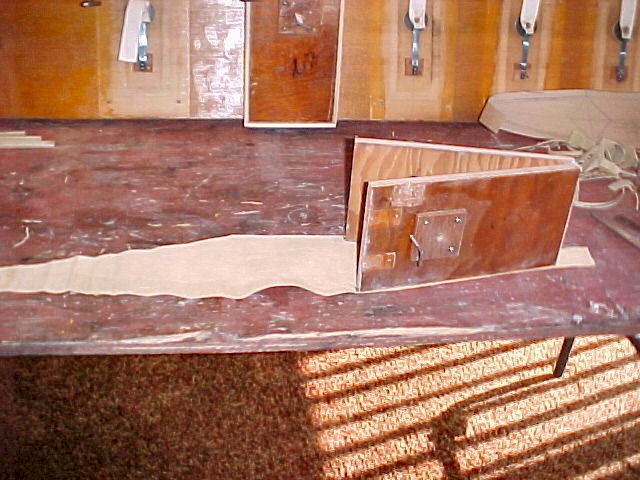 |
 |
This picture illustrates how the leather is folded around the edges of the form after glue is applied. |
| Tab ends of leather are overlapped at the hinge end. The hinge consists of a piece of twill-cloth glued across the back of the two halves of the unit. |  |
 |
Next we make the wood strips that surround the edges of the leathered power pneumatic. Wood strips will be tacked to the edges with 1" brass brads. |
| Here, we see a group of edge piece components. These are used to strengthen the glue joint. | |
 |
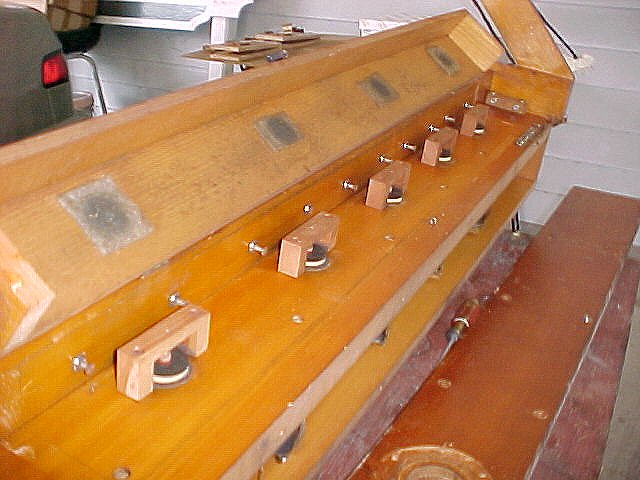
The completed pneumatic is mounted back on the manifold.The twill-cloth tab, for the safety valve, is pulled through the hole in the center of the pneumatic. |
| Here, a finished power pneumatic is reinstalled on the manifold. | 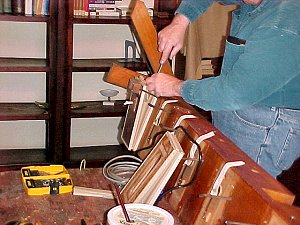 |
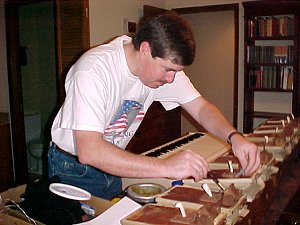 |
Here, Rene puts the finishing touches on the swell motor. |
WEEK 3
| Saturday, February 22, 2003: Completed shade operator is remounted on swell shade assembly in church. | 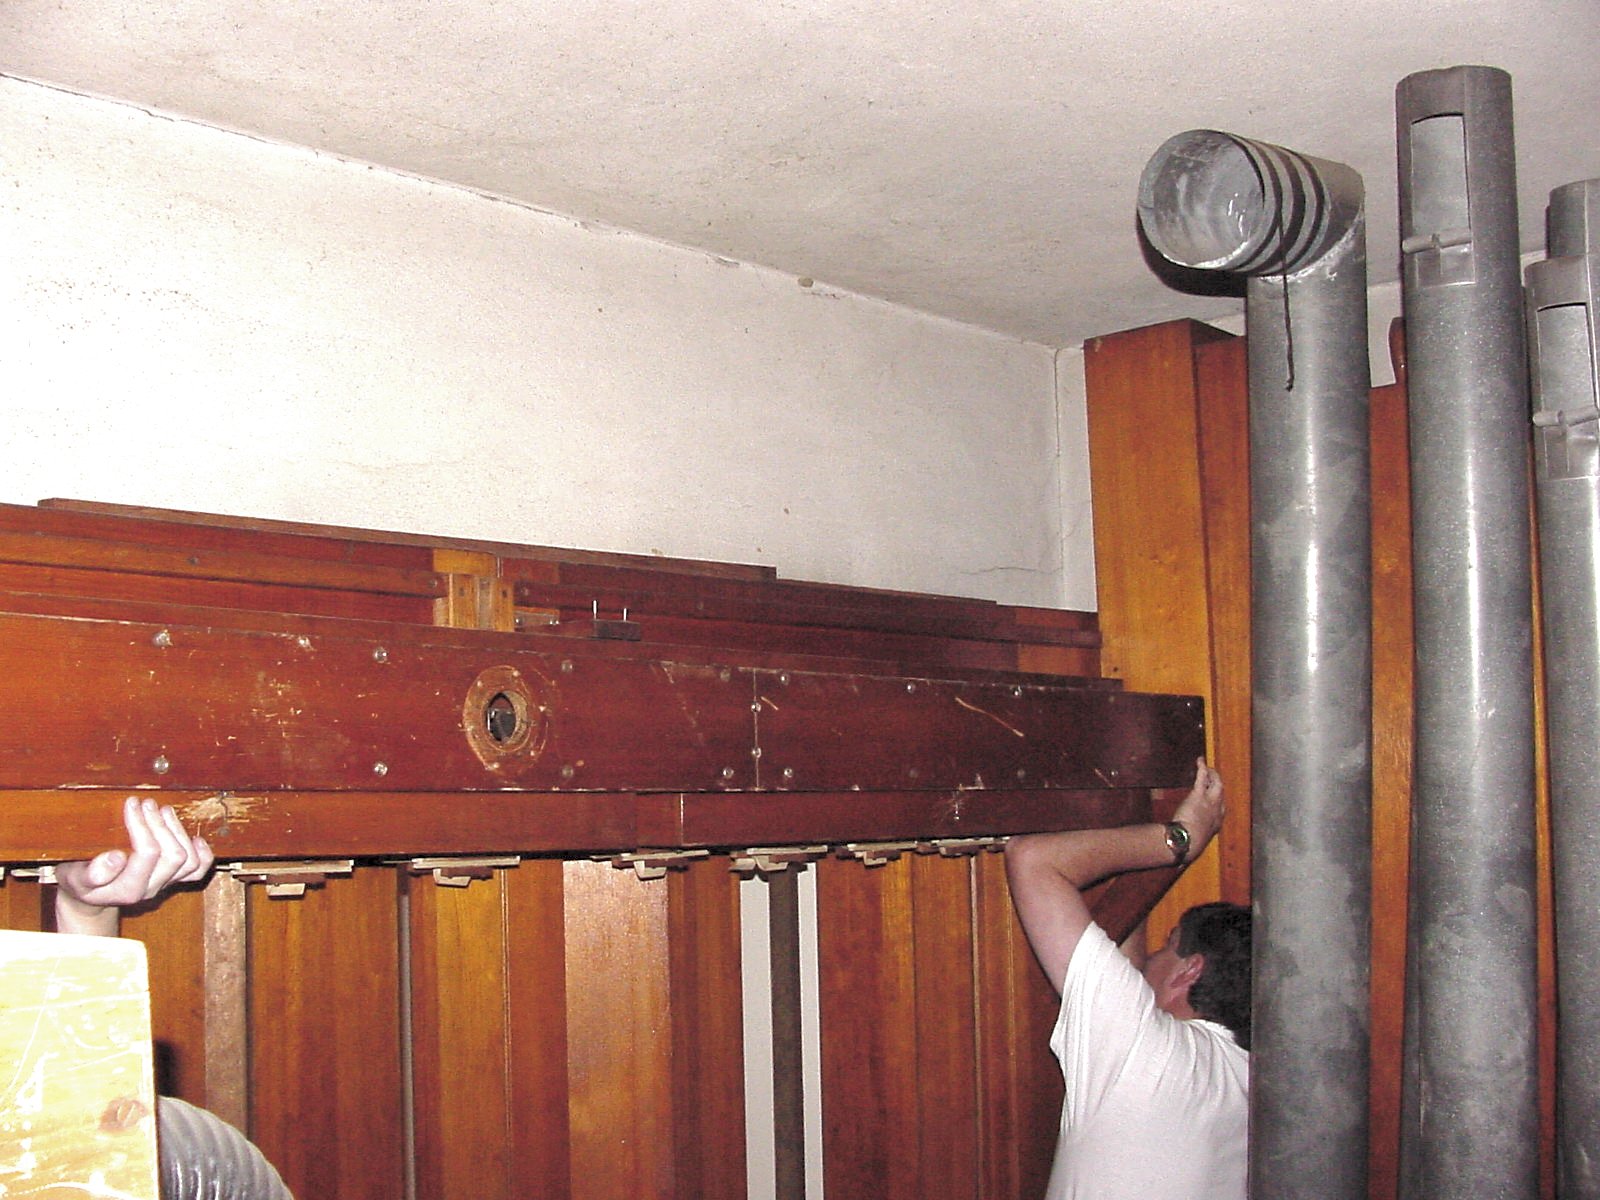 |
 |
The next photos are from the keyboard replacement project |
| Console shown with original keyboards removed. | 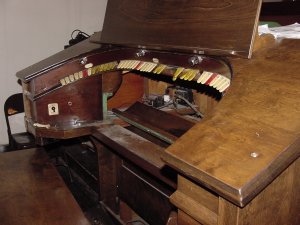 |
 |
Contact block is removed from keyboard and cabled. |
| Wires from 100 conductor cable are soldered to contact block for Solo Manual. | 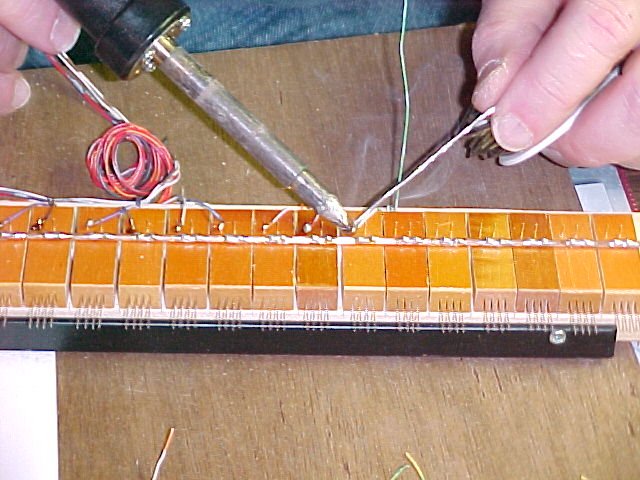 |
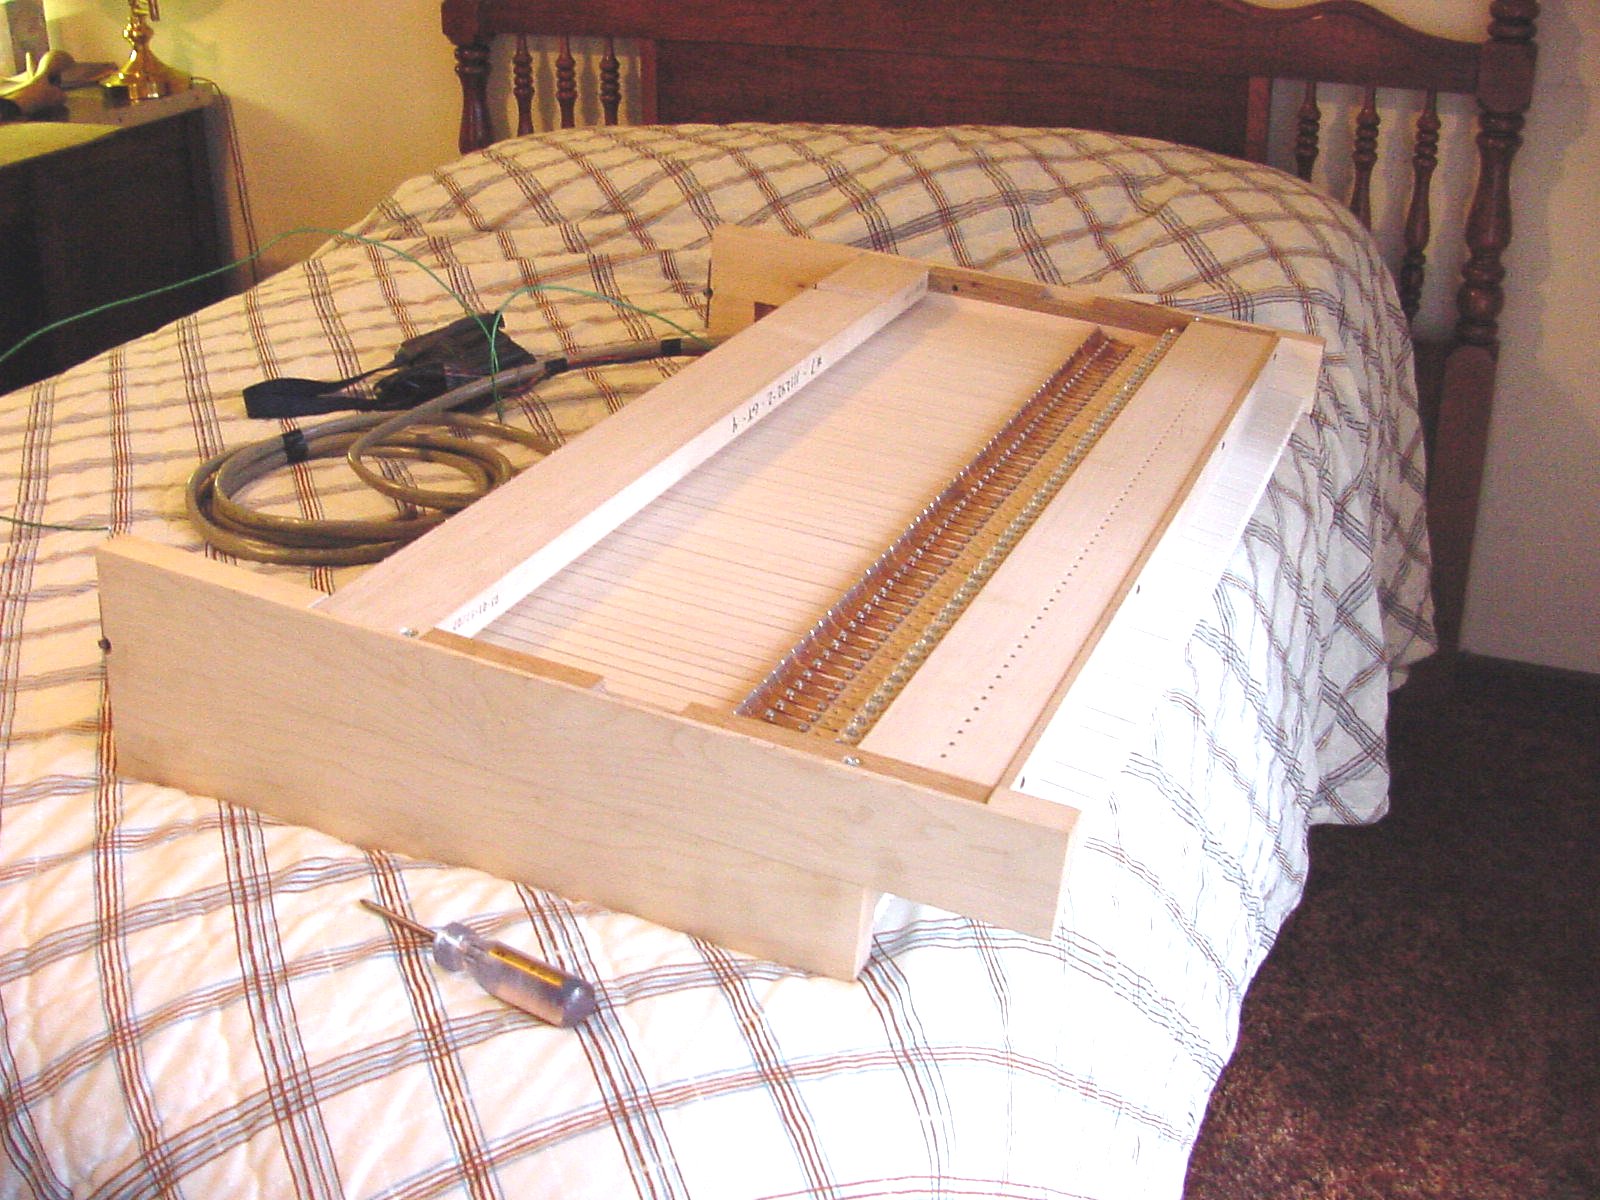 |
Complete new keyboards arrived from Organ Supply in Erie, PA during the week of 2-20-2003. Here the newly cabled keyboard awaits trasport to the church for installation in the console. |
| Keyboards are carried up to choir loft for installation in console. | 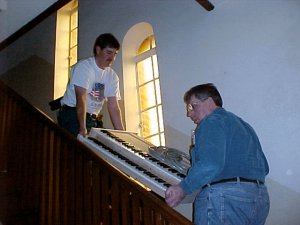 |
WEEK 4
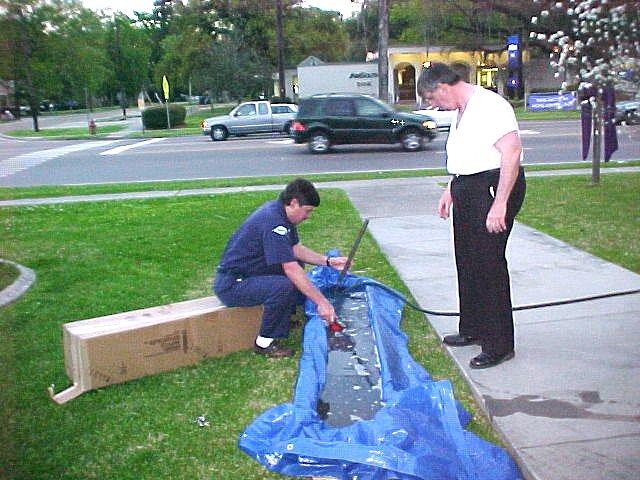 |
Pipe washing begins in preparation for tuning. |
| Metal pipes are soaked in mild detergent, rinsed and stood upright to dry. |  |
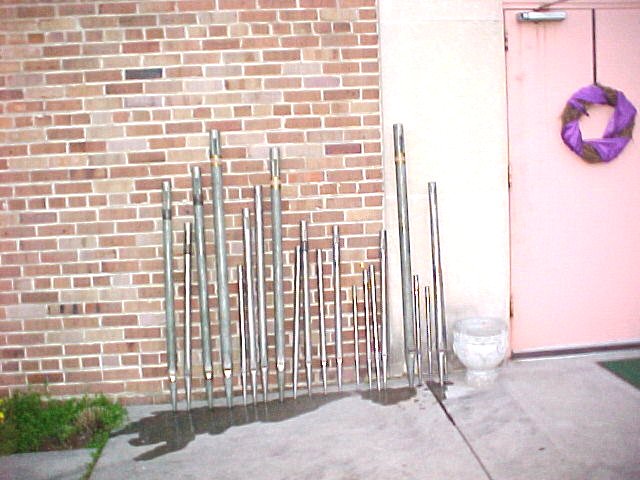 |
String rank dries against front of church building. |
WEEK 5
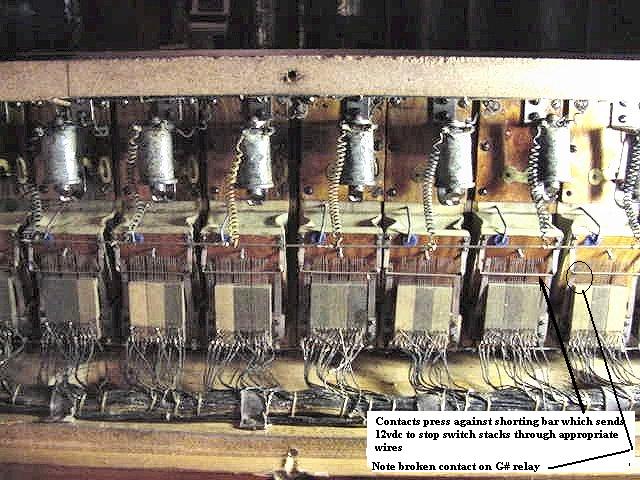 |
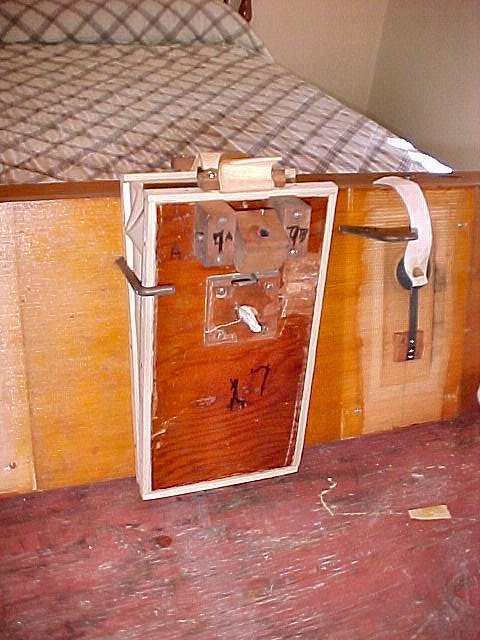
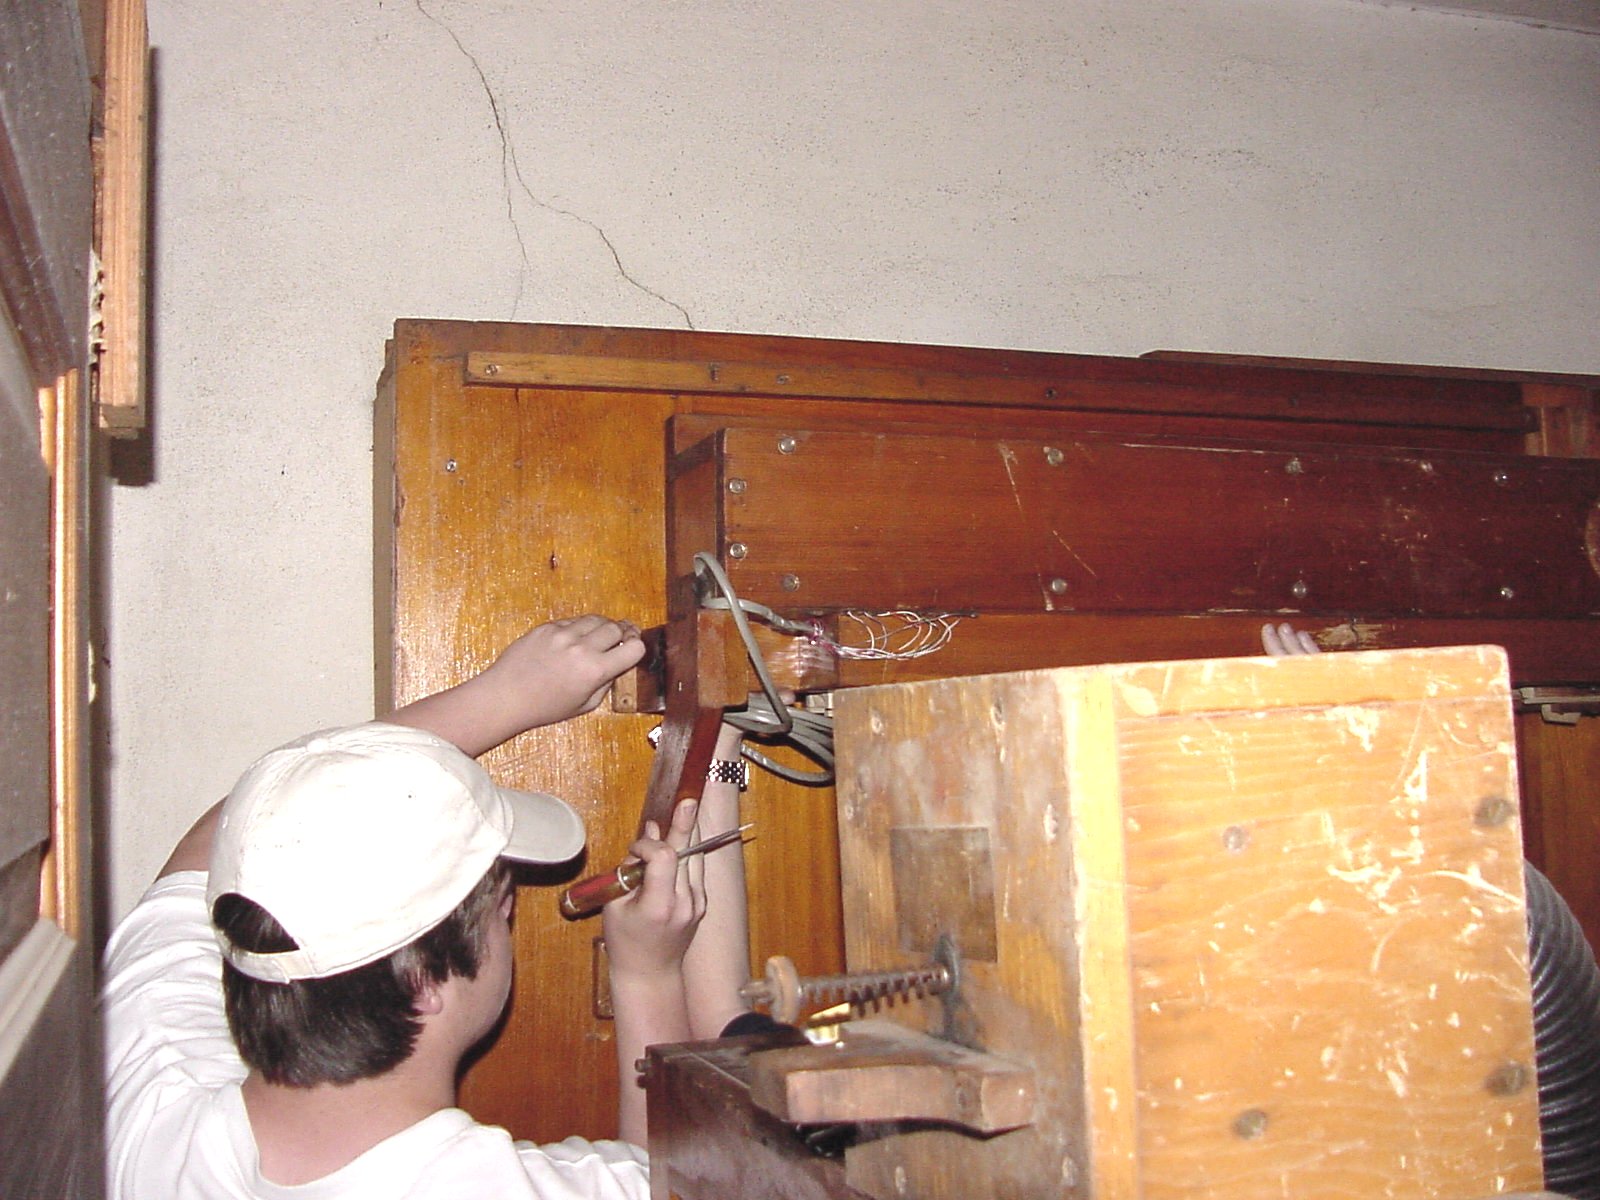
Relay problems were analyzed and repaired. Wicks 838 contains one of the few electro-pneumatic relays made by Wicks Organ Company. At this stage of the renovation, minor repairs were made to get notes sounding. When the organ is moved to the new building, a new solid-state relay will probably replace this one. Photo shows keying relays. There is one relay for each key on the solo, accomp., and pedal. When the note is played, the direct-acting coil at top vents the pneumatic, causing it to collapse. The fingers close against the bar causing +12VDC to flow to each of the stop switches associated with that note. (See large photo for mark-up...click on image at left to reveal) |
| Here, Dr. Jim Hammann examines broken contact on Solo manual G#-2 keying relay prior to repair. | 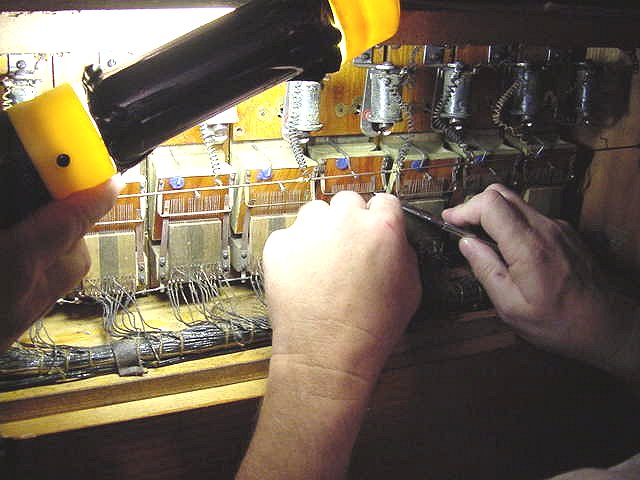 |
WEEK 6
 |
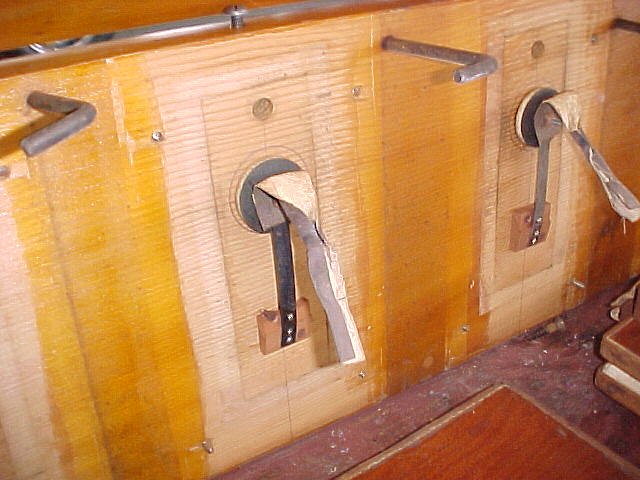
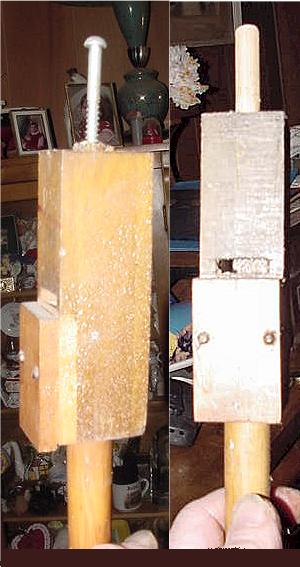
After an attempt was made to tune the organ, it was determined that the tibia rank stoppers had rotten leather. As shown at left, someone in the past had added a thin layer of leather over the original felt and leather stopper seals. To properly recondition the rank, it was necessary to completely strip all of the stoppers and apply all new felt and leather.
|
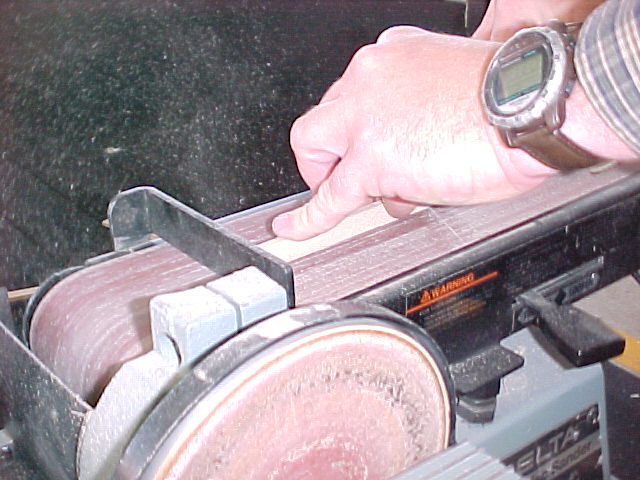
Here is a sample shot of a re-leathered stopper.
Felt is applied and glued first. Then, leather is applied over the felt.
Edges are trimmed with sanding belt. |
 |
 |
Some of the trebble pipes had the tuning handles
missing. Someone had installed wood screws to serve as handles. Here,
new wooden handles were fabricated and installed. |
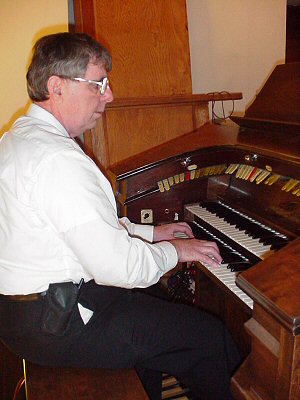
Easter Sunday 2003, the congregation hears the refurbished
organ for the first time as John DeMajo plays for morning Mass. After
the traditional exit hymn, Mass attendees exited the church to the sounds
of Irving Beriln's "Easter Parade" played in full theatre style.
|
 |
MORE TO FOLLOW.......Phase II begins July 2003