CONSTRUCTING
A TREBLE OFFSET CHEST
by John DeMajo
DISCLAIMER: The author of this site wants you to know that he is 100% in favor of the preservation and correct restoration of historic pipe organs and their related components. These projects are not intended as a guide for the repair of an existing theatre organ toy counter. They were developed for the use of persons who wish to add a toy counter to an organ that either was not originally equipped with one, or in the case of virtual organs, where an owner desires to have a mechanical "moving parts" devide that is visible or usable on an electronic organ. Under no circumstances do we advocate the use of these devices, or the application of this technology as a means of retrofitting an otherwise working or repairable theatre organ original component.
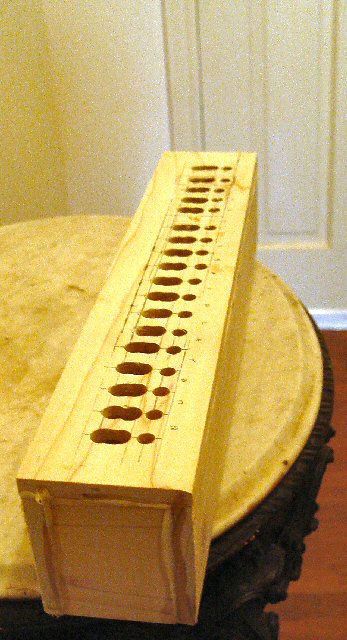
The exercise here is to construct an inexpensive
treble offset chest. This little 18 note offset chest, for the top of
my string rank, was built from hobby grade lumber sheets sold by Home
Depot. The wood is poplar and it is pre-cut and squared at 3 x 36 and
planed 1/2" thick. The lumber size is perfect for the application,
and cuts need only be made to obtain the correct lengths. These views
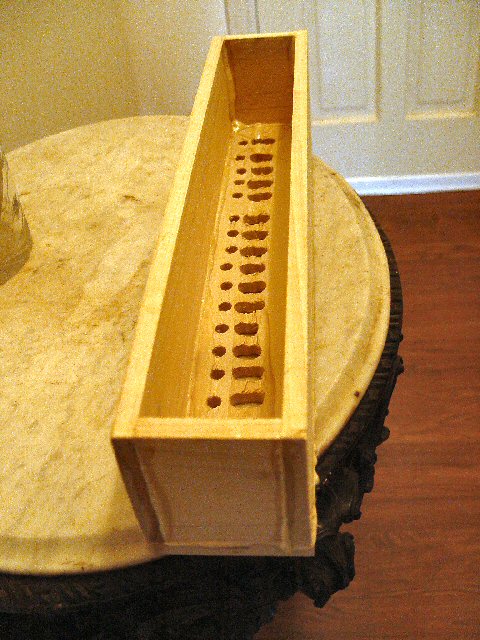
show preliminary chest construction and gluing of sections.
The design is based around the Reisner pipe
port magnet. Notice that this device has a concave port in the valve cover
that is made to accept the toe of a l treble pipe. The valves are available
with two different port sizes for 1' and 2' pipes. .

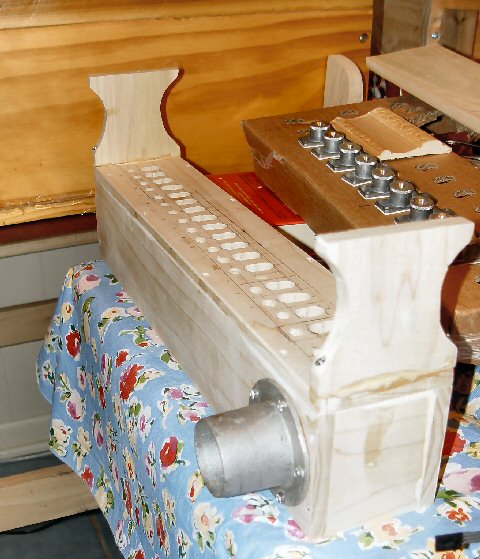
Here, we begin to mount the valves on the
toe board. Each valve mounts with two round head wood screws. Valves are
spaced to allow for larger pipes at the lower end of the chest.
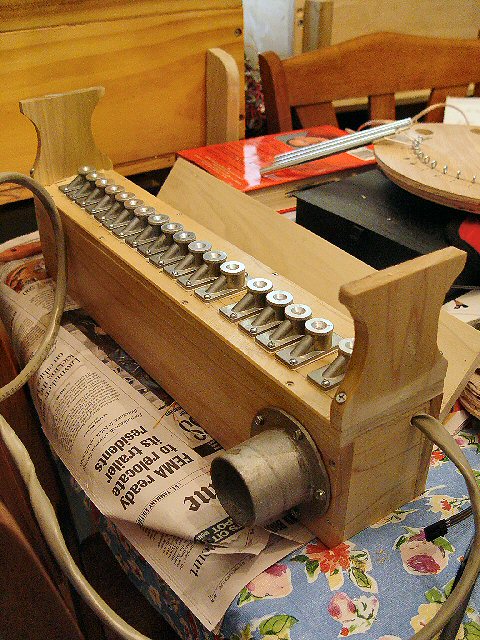
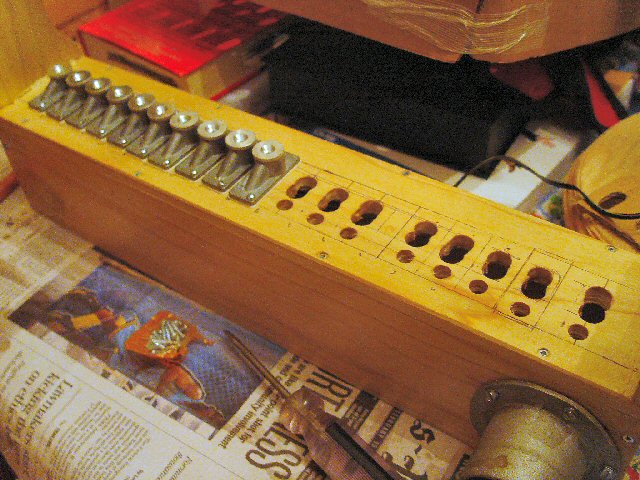
Here, the valves are all placed and secured,
and the cable has been installed. Next step is to install the rack board
and to spot the pipe holes for drilling with appropriate size Fostner
bits. A second coat of polyurethane varnish will also be applied shortly.

Spotting the pipe holes using the special
tool that I created for this purpose.
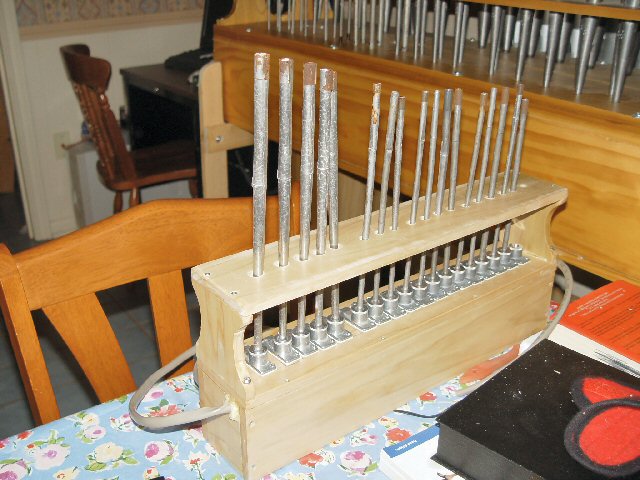
Chest shown with pipes installed in recently
drilled rack board. All that is left now is to wire the valves and test
it.